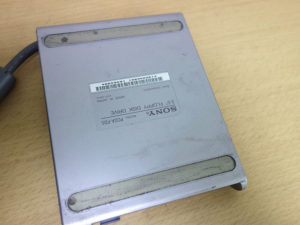
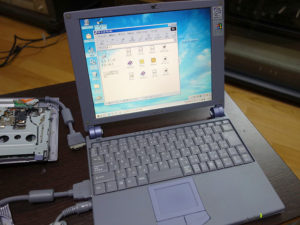
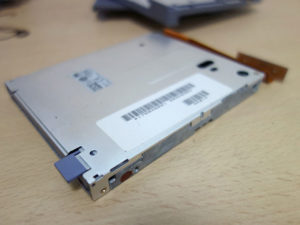
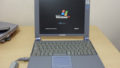
VAIOのフロッピーディスクの読み取りエラーを直す。
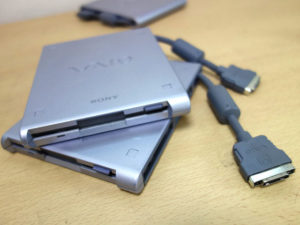
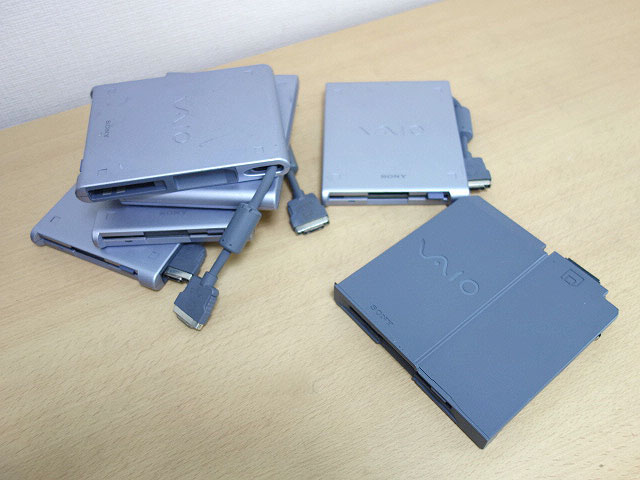
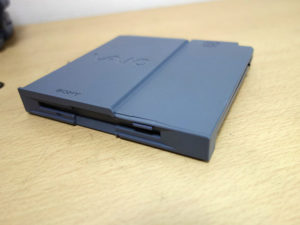
VAIO用のフローピーディスクは専用端子タイプとUSB、そしてビルトイン型がありますがどれも経年劣化により読み取りーエラーが発生します。
いずれも内部のゴムベルトが劣化して伸びてしまうかコンデンサがやられるかどちらかですが多くはゴムベルトの入れ替えで改善されます。
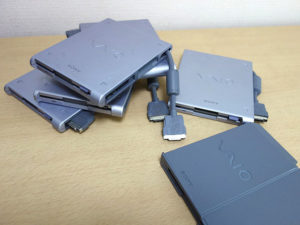
今回はゴムベルトの交換を行ってみました。(5台ほどまとめて)
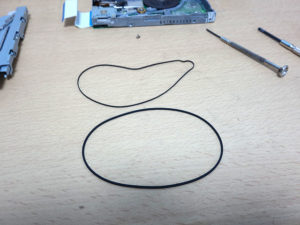
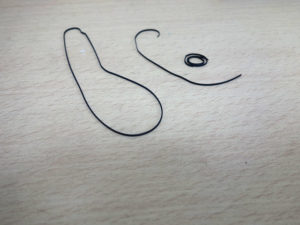
交換するゴムサイズです。(このサイズですと若干太いです。)

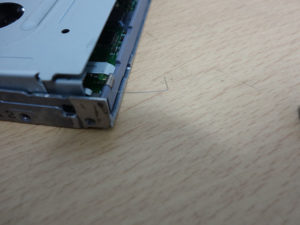
背部のゴムパット部のネジを外していきます。

カバーが外れます。
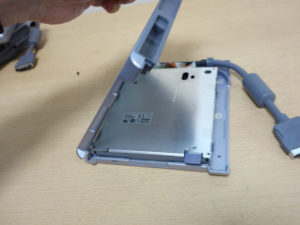
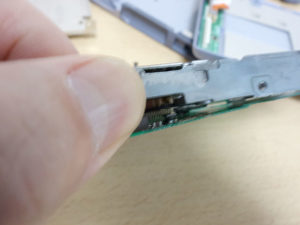
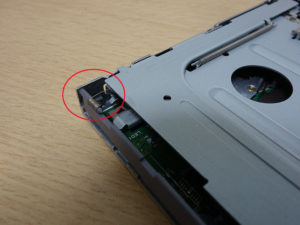
フラットケーブルを折れないように外します。
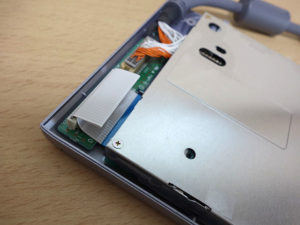
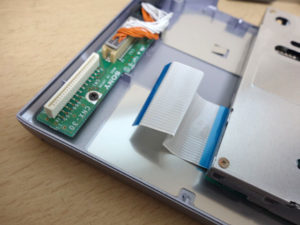
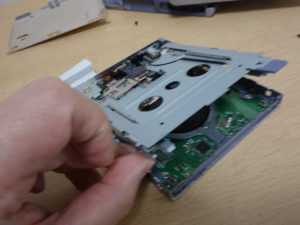
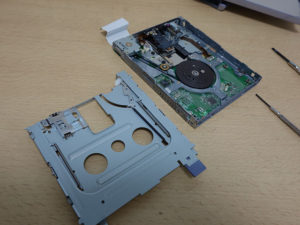
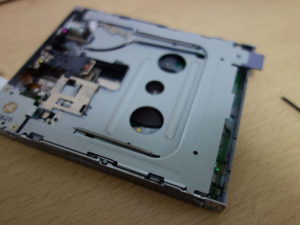
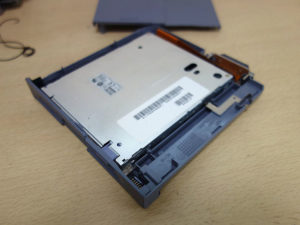
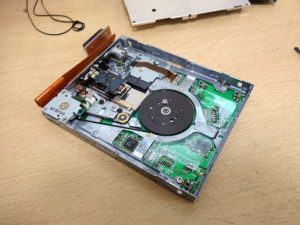
本体のスチールカバーを外します。
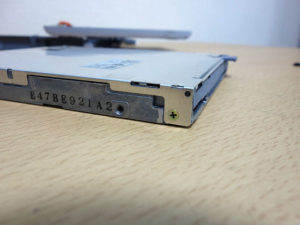
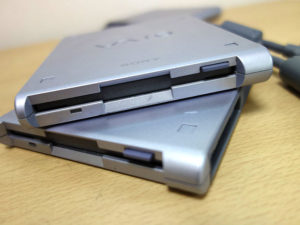
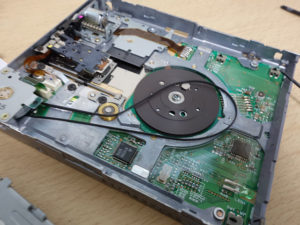
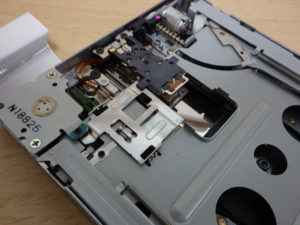
読取り部(ヘッド部)です。手前(数字の2)のカバーとヘッド部を切り離します。

上蓋をゆっくりと外していきます。
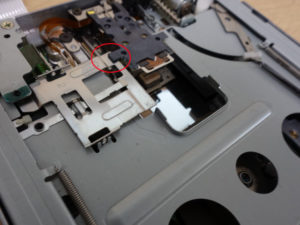
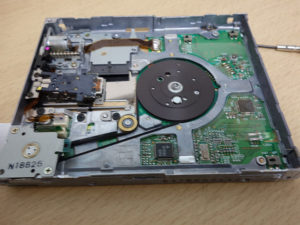
原因のゴムベルト部です。大体は伸びきっています。
新しいゴムベルトと入れ替えます。

面倒くさいのはプリーにうまくひっかける必要があります。
こんな感じで完成です。
スロット部の蓋止めのバネも戻して上蓋をしていきます。
上蓋をしてへッド部を接続します。
ディスクを入れて動作検証をします。

ディスクの内容を読み取っています。
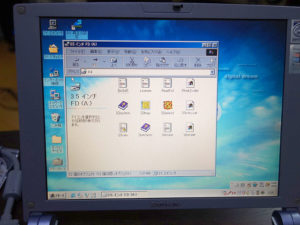
フォーマットもいけました。

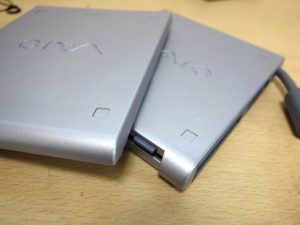
内蔵タイプも同様です。
外枠を外すと同様のドライブが現れます。
ゴムベルトを交換して完了です。
ゴムベルトは劣化していきます。おそらく5年前後でこうなるでしょう。
フロッピーは構造がそれほど変わらず、ある程度コツがつかめればメンテナンスは可能です。しかしVAIOではリカバリーはドライブブートが可能であり、使用用途はフロッピーディスクに残っているデーターの確認(吸い上げ)などが使用目的でしょうか。
コメント